How to use strobes with ambient light
Notes by Yvette 10/30/13
Steve’s Camera – across from Samy’s in Culver City – a great camera repair shop
“Picture Day” – documentary by Ira Glass, recommended by Alex ☺
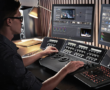
Instructor/Model David Calicchio demonstrated use of strobes with ambient light
We used a portable strobe and David Chipman’s camera

1.
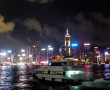
Outside/Night – Bokeh
• Night environment, approximately 8pm
• To get bokeh, aperture needs to be wide open
• ISO 500, F 2.8, 1/30 sec.
• Zoom in on your subject, background should be out of focus, background lights create bokeh effect
• Then add strobe for the subject– need to set to 2.8 (use light meter to adjust)
• Our problem – strobe was too bright. We used a neutral density filter on the strobe, also brought ISO down to 320 in order to bring strobe to 2.8.
• Moving the strobe farther away could work in reducing but then it would light up too much of the surrounding area
• Re-set the ambient settings to ISO 320
• Final settings: ISO 320, f2.8, 1/30 sec
2. Outside – Elevator
• Set ISO at 320
• Use light meter (ambient setting) to meter around the elevator
• F 2.8
• Then meter for the strobe. On the light meter, use the flash setting
• 1/8 sec
• If we did two stops less (1/30 sec), the image is darker/deeper. If we did two stops the other way, it lets in much more ambient light
• Subject moves during the shot – it can create an outline/shadow effect
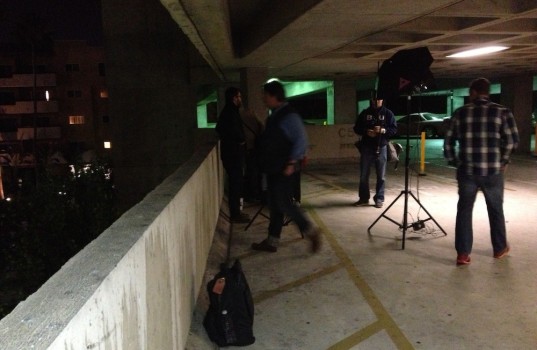
3. Outside – from parking structure
• There was a black/white movie being projected onto the building from the 4th floor. We went to the 3rd floor to take a picture of our hot models with the movie in the background
• Use light meter (reflective) for the building in the back
• F2.84, 1/8 sec, ISO 1000
• Fluorescent light above is providing a lot of light, but it is yellowish. We want to use the strobe to fill it with white, in order to overcome the yellow.
• Summary: Find the ambient settings. To keep the strobe at the same brightness as the background, match the f stop. To make the background darker, use faster shutter speed
4. Inside Studio – Ambient, “painting” with a light
• F 5.6, 1/125 sec, ISO 200
• Turn off lights and close door, remove the strobe sync
• Put camera on “bulb setting”
• Model “paints” with a flashlight, manually fire the strobe at the end of the shot
5. Inside Studio – with one hot light as ambient
• Meter/set exposure for ambient
• ISO 200, 1/8 sec, f 2.8
• Adjust shutter speed to give the aperture with more depth of field = ISO 200, 1 sec, f 5.6
• Then meter for the strobe = ISO 200, f 5.6 (same as ambient)
• This setting might be good for an interior shot, as the room will be really bright
• See the difference between shots taken inside vs. outside with similar settings
• To light the subject and let the ambient light come through, we have to reduce the strobe
• Reduce shutter speed to ½ sec
• We made a snoot for the strobe using black wrap
• ISO 200, f 8, ½ second